

NOTICE
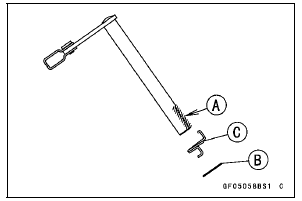
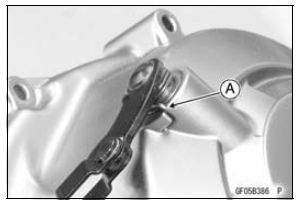
When inserting the release shaft, be careful not to remove the spring of the oil seal.

 Release Shaft Removal
 Clutch Cover Disassembly
Location of parts
Clutch Lever
Left Handlebar Switches
Rebound Damping Force Adjuster
(Front Fork)
Compression damping force adjuster
(Front Fork)
Meter Instruments
Brake Fluid Reservoir (Front)
Right Handlebar Switches
Front Brake Lever
Throttle Grip
Ignition Switch/Steering Lock
Elect ...
Headlight Beam
NOTE
Do not turn the bolts because the reflector
in the headlight comes off.
A. Bolts
The left and right adjusters on the
headlight can move the direction of
the headlight beam to up, down, left
and right by turning each adjuster itself
as the below table.
A. Left Adjuster
...
Meter Unit Circuit (ZX1000K Model)
1. Ignition Switch
2. Joint Connector F
3. Stop Watch Button
4. Oil Pressure Switch
5. Crankshaft Sensor
6. Water Temperature Sensor
7. Gear Position Switch
8. Intake Air Temperature Sensor
9. ESD ECU (ZX1000JD/KD)
10. ECU
11. Rear Wheel Rotation Sensor
12. Frame Ground 1
13. Engine ...