
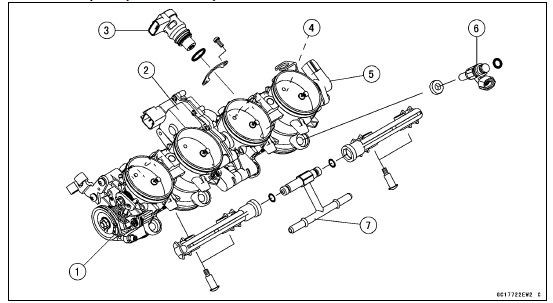
1. Throttle Body Assy
2. Subthrottle Valve Actuator
3. Idle Speed Control Valve Actuator
4. Main Throttle Sensor
5. Subthrottle Sensor
6. Primary Fuel Injectors
7. Delivery Pipe Assy
NOTICE
Do not remove, disassemble or adjust the main throttle sensor, subthrottle sensor, subthrottle valve actuator, throttle link mechanism and throttle body assy, because they are adjust or set surely at the manufacturer. Adjustment of these parts could result in poor performance, requiring replacement of the throttle body assy.
NOTE
Do not damage the insertion portions of the injectors when they are pulled out from the throttle body.
NOTE
NOTICE
Never drop the primary fuel injector especially on a hard surface. Such a shock to the injector can damage it.
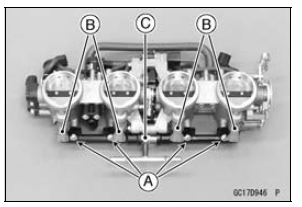
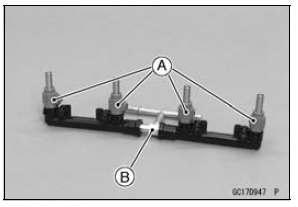
 Throttle Body Assy Installation
 Throttle Body Assy Assembly
Brakes
Brake Wear Inspection
Inspect the brakes for wear. For each
front and rear disc brake caliper, if the
thickness of either pad is less than
1 mm (0.04 in.), replace both pads
in the caliper as a set. Pad replacement
should be done by an authorized
Kawasaki dealer.
A. Lining Thickness
B. ...
Stick Coil Primary Peak Voltage Inspection
NOTE
Be sure the battery is fully charged.
Remove the stick coils (see Stick Coil Removal).
Do not remove the spark plugs.
Connect the ECU to the harness.
Measure the primary peak voltage as follows.
Install the new spark plug [A] into each stick coil [B], and
ground them onto ...
Exploded View
7. US, CA and CAL Models
8. Immobilizer System Equipped Models
9. ZX1000JD/KD
AD: Apply adhesive.
L: Apply a non-permanent locking agent.
R: Replacement Parts
13. Other than US, CA and CAL Models
CL: Apply cable lubricant.
EO: Apply engine oil.
G: Apply grease.
L: Apply a ...