
NOTICE
Never drop the ECU especially on a hard surface.
Such a shock to the ECU can damage it.
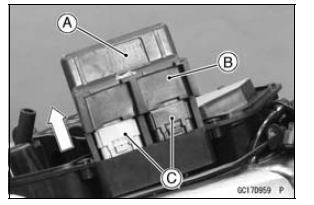
ECU Installation
ECU [A] (in Rubber Protector [B])
ECU Connectors
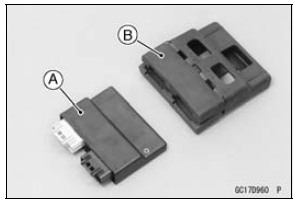
 ECU Identification
 ECU Power Supply Inspection
Stopping the engine
Close the throttle completely.
Shift the transmission into neutral
Turn the ignition key to “OFF”.
Support the motorcycle on a firm,
level surface with the side stand.
Lock the steering.
NOTE
The motorcycle is equipped with a
vehicle-down sensor, which causes
the engine to sto ...
Radiator Inspection
Remove the radiator (see Radiator and Radiator Fan Removal).
Check the radiator core.
If there are obstructions to air flow, remove them.
If the corrugated fins [A] are deformed, carefully
straighten them.
If the air passages of the radiator core are blocked more
than 20% by unremovable ...
Power mode
The Power mode determines the engine
power output characteristics and
has three settings.
The S-KTRC and the Power mode
can be set separately. By combining
each setting, the rider can get various
power feelings to suit riding conditions
or individual preference.
Mode F (Full Power):
The h ...