
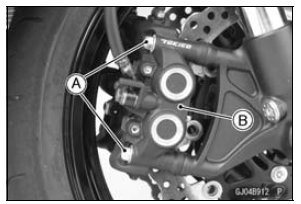
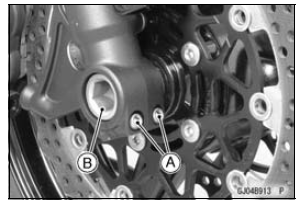
Special Tools - Jack: 57001-1238 Jack Attachment: 57001-1608
NOTICE
Do not lay the wheel down on one of the discs. This can damage or warp the disc. Place blocks under the wheel so that the disc does not touch the ground.
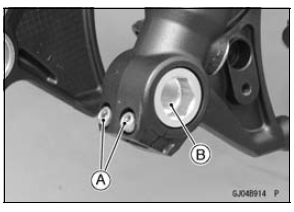
 Wheels (Rims)
 Front Wheel Installation
Brake Fluid Level Inspection
Check that the brake fluid level in the front brake reservoir
[A] is above the lower level line [B].
NOTE
Hold the reservoir horizontal by turning the handlebar
when checking brake fluid level.
If the fluid level is lower than the lower level line, fill the
reservoir to the upper lev ...
Washing Your Motorcycle
Rinse your bike with cold water from
a garden hose to remove any loose
dirt.
Mix a mild neutral detergent (designed
for motorcycles or automobiles)
and water in a bucket. Use
a soft cloth or sponge to wash your
motorcycle. If needed, use a mild degreaser
to remove any oil or greas ...
Exploded View
EO: Apply engine oil.
G: Apply grease.
L: Apply a non-permanent locking agent.
M: Apply molybdenum disulfide grease.
MO: Apply molybdenum disulfide oil solution.
(mixture of the engine oil and molybdenum disulfide grease in a weight ratio
10:1)
R: Replacement Parts
S: Follow the s ...