
NOTE
In dusty areas, the element should be replaced more frequently than the recommended interval.
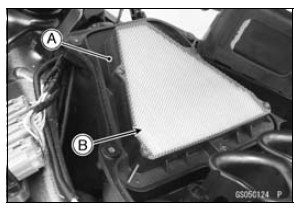
| WARNING If dirt or dust is allowed to pass through into the throttle body assy, the throttle may become stuck, possibly causing accident. Replace the air cleaner element according to the maintenance chart. |
NOTICE
If dirt gets through into the engine, excessive engine wear and possibly engine damage will occur.
NOTICE
Use only the recommended air cleaner element (Kawasaki part number 11013-0041). Using another air cleaner element will wear the engine prematurely or lower the engine performance.
 Fuel Hose Replacement
Rear Wheel Removal
Raise the rear wheel off the ground with the stand [A].
Remove:
Cotter Pin [A]
Rear Axle Nut [B]
Washer [C]
Rear Axle [D] (from Right Side)
Remove the rear wheel rotation sensor from the caliper
bracket (see Rear Wheel Rotation Sensor Removal in the
Brakes chapter).
...
Battery Installation
Place the battery in the battery case.
Connect the (+) cable to the (+) terminal,
and then connect the (–) cable
to the (–) terminal.
NOTICE
Installing the (–) cable to the (+)
terminal of the battery or the (+)
cable to the (–) terminal of the
battery can seriously damaged
...
Spark Plug Replacement
Remove the stick coils (see Stick Coil Removal in the
Electrical System chapter).
Remove the spark plugs using the 16 mm (0.63 in.) plug
wrench [A] vertically.
Replace the spark plug with new ones.
Standard Spark Plug
Type: NGK CR9EIA-9
Insert the spark plug vertically into the sp ...
