
Special Tools - Grip [C]: 57001-1591 Rotor Holder: 57001-1666 Flywheel Puller Assembly, M38 × 1.5/M35 × 1.5 [D]: 57001-1405 Rotor Holder Attachment: 57001-1689
Suitable Washer [A] (Aluminum) Inside Diameter [B]: 40 mm (1.6 in.) Outside Diameter [C]: 60 mm (2.4 in.) Thickness: About 2 mm (0.08 in.)

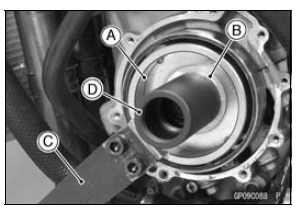
Special Tool - Flywheel Puller Assembly, M38 × 1.5/M35 × 1.5: 57001-1405
NOTICE
Do not attempt to strike the alternator rotor itself.
Striking the rotor can cause the magnets to lose their magnetism.

 Stator Coil Installation
 Alternator Rotor Installation
ESD Actuator Input Voltage Inspection
NOTE
Be sure the battery is fully charged.
Turn the ignition switch to OFF.
Disconnect the ESD actuator connector and connect a
suitable measuring leads [A] between these connectors
as shown.
Main Harness [B]
ESD Actuator [C]
Connect the peak voltage adapter [D] and a digital ...
Radiator and Radiator Fan Installation
If the radiator bracket [A] was removed, install it.
Install the radiator fan to the radiator
Tighten the radiator fan mounting bolts.
When installing the pad [B], install it so that the upper end
of the pad aligns with the corner top [C].
When install the pad [D], install it so that the ...
Valve Removal
Remove the cylinder head (see Cylinder Head Removal).
Remove the valve lifter and shim.
Mark and record the valve lifter and shim locations so they
can be installed in their original positions.
Using the valve spring compressor assembly, remove the
valve.
Special Tools - Valve ...