
Torque - Air Suction Valve Cover Bolts: 9.8 N·m (1.0 kgf·m, 87 in·lb)
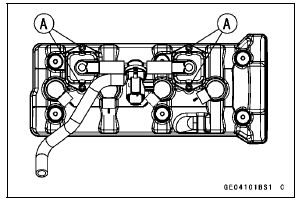
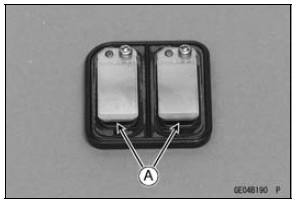
 Air Suction Valve Removal
 Air Suction Valve Inspection
Odometer
The odometer shows the total distance
in kilometers or miles that the vehicle
has run. If the odometer is displayed,
the “ODO” is displayed on the
multifunction display. This meter cannot
be reset.
A. Odometer
B. “ODO”
NOTE
The data are maintained even if the
battery is disco ...
Special Tools and Sealants
Outside Circlip Pliers:
57001-144
Piston Pin Puller Assembly:
57001-910
Piston Ring Compressor Grip:
57001-1095
Piston Ring Compressor Belt, 67
79:
57001-1097
Bearing Driver Set:
57001-1129
Liquid Gasket, TB1216B:
92104-1064
Liquid Gasket, TB1207B:
92104-2068
...
Torque Limiter Removal
Remove:
Starter Motor (see Starter Motor Removal in the Electrical
System chapter)
Throttle Body Assy Holder [A]
Breather Hose [B]
Roll up the heat insulation rubber plate [C].
Remove:
Torque Limiter Cover Bolts [A]
Torque Limiter Cover [B]
Remove:
Torque Limit ...