
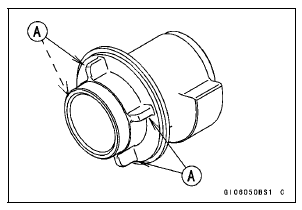
Face the linked portion [C] to the bottom.
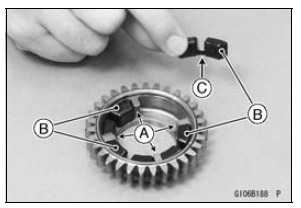
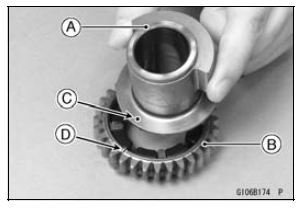
Align the punch mark [C] of the balancer weight and the groove [D] of the gear.
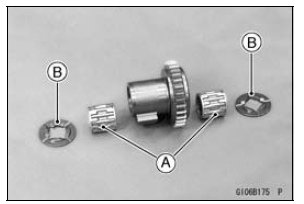
Face the grooved side of the washer to inside.
 Balancer Removal
 Balancer Installation
Brake Pad Wear Inspection
Remove the brake pads (see Front/Rear Brake Pad Removal
in the Brakes chapter).
Check the lining thickness [A] of the pads in each caliper.
If the lining thickness of either pad is less than the service
limit [B], replace both pads in the caliper as a set.
Front Brake Pad [C]
Rea ...
Chassis Parts Lubrication
Before lubricating each part, clean off any rusty spots with
rust remover and wipe off any grease, oil, dirt, or grime.
Lubricate the points listed below with indicated lubricant.
NOTE
Whenever the vehicle has been operated under
wet or rainy conditions, or especially after using a
high ...
Main Throttle Sensor Input Voltage Inspection
NOTE
Be sure the battery is fully charged.
Turn the ignition switch to OFF.
Remove the throttle body assy (see Throttle Body Assy
Removal in the Fuel System (DFI) chapter).
Do not disconnect the connectors of the throttle body
assy.
Disconnect the main throttle sensor connector ...