
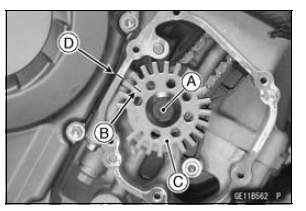
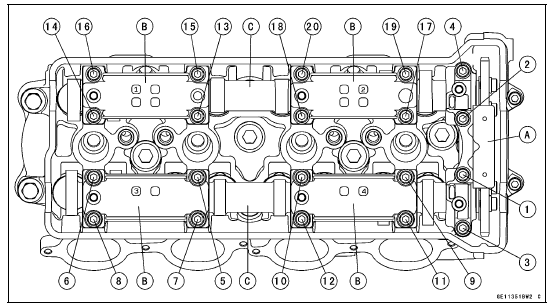
NOTICE
The crankshaft may be turned while the camshafts are removed. Always pull the chain taut while turning the crankshaft. This avoids kinking the chain on the lower (crankshaft) sprocket. A kinked chain could damage both the chain and the sprocket.
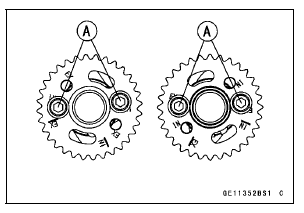
 Camshaft Installation
Intake Air Temperature Sensor Removal
NOTICE
Never drop the intake air temperature sensor especially
on a hard surface. Such a shock to the sensor
can damage it.
Remove the fuel tank (see Fuel Tank Removal in the Fuel
System (DFI) chapter).
Disconnect the connector [A] from the intake air temperature
sensor.
Remove the da ...
Piston Installation
Apply molybdenum disulfide oil solution to the oil ring expander,
and install the oil ring expander [A] in the bottom
piston ring groove so the ends [B] not butt together
Applymolybdenum disulfide oil solution to the oil ring steel
rails, and install the oil ring steel rails, one above th ...
DFI System Wiring Diagram
Part Names
1. Air Intake Solenoid Valve (Other than US, CA and CAL Models)
2. Front Wheel Rotation Sensor
3. Engine Stop Switch
4. Starter Button
5. Air Switching Valve
6. Stick Coil #1, #2, #3, #4
7. Spark Plugs
8. Intake Air Temperature Sensor
9. Crankshaft Sensor
10. Secondary Fuel ...
