
Sealant - Liquid Gasket, TB1216B: 92104-1064
NOTE
Make the application finish within 20 minutes when the liquid gasket (TB1216B) to the mating surface of the cylinder head cover is applied.
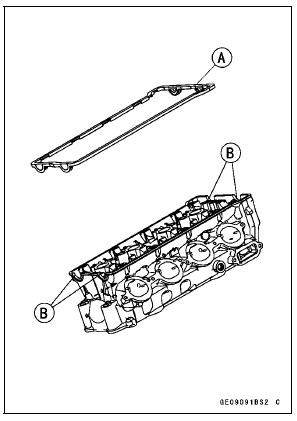
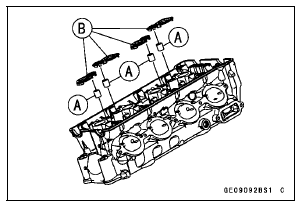
Dowel Pins [A] Plug Hole Gaskets [B]
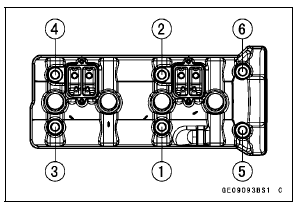
Torque - Cylinder Head Cover Bolts: 9.8 N·m (1.0 kgf·m, 87 in·lb)
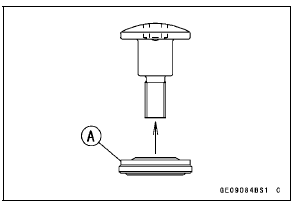
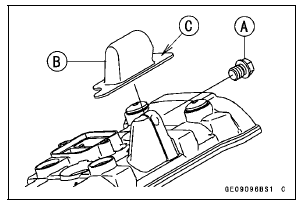
Cover Plug [A] Rubber Cap [B]
Torque - Cylinder Head Cover Plug: 15 N·m (1.5 kgf·m, 11 ft·lb)
 Cylinder Head Cover Removal
Brake Pedal Position Adjustment
NOTE
Usually it is not necessary to adjust the pedal position,
but always adjust it when push rod locknut has been
loosened.
Loosen the locknut [A] and turn the push rod with the hex
head [B] to achieve the correct pedal position.
If the length [C] shown is 69 ±1 mm (2.7 ±0.04 in.), th ...
Spring Plate Free Play Adjustment
NOTE
The free play adjustment is performed by replacing the
steel plate(s).
Measure the clutch spring plate free play (see Clutch
Spring Plate Free Play Measurement), and then replace
the steel plate(s) which brings the free play within the
usable range.
Spring Plate Free Play
Usable ...
Lighting System
This motorcycle adopt the daylight system and have a
headlight relay in the relay box. The headlight does not
go on when the ignition switch and the engine stop switch
are first turned on. The headlight comes on after the starter
button is released and stays on until the ignition switch is
turn ...
