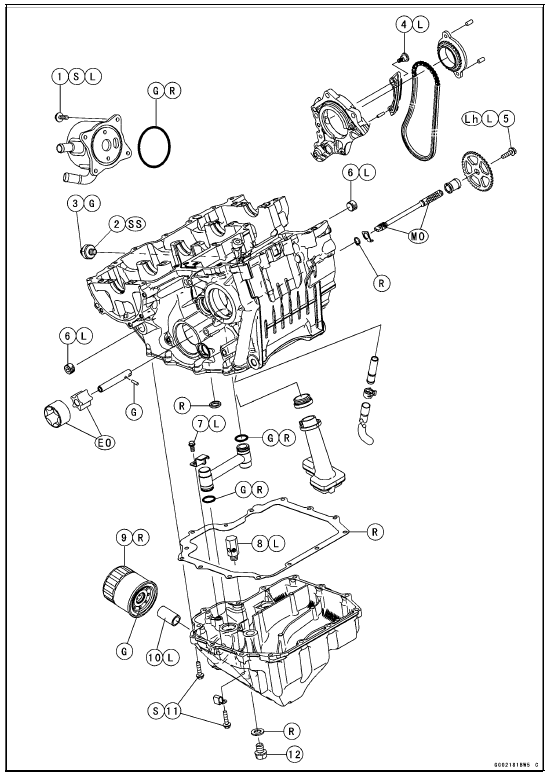


EO: Apply engine oil.
G: Apply grease.
L: Apply a non-permanent locking agent.
Lh: Left-hand Threads MO: Apply molybdenum disulfide oil solution.
(mixture of the engine oil and molybdenum disulfide grease in a weight ratio 10:1) R: Replacement Parts S: Follow the specified tightening sequence.
SS: Apply silicone sealant.
 Engine Oil Flow Chart
Engine Oil
In order for the engine, transmission,
and clutch to function properly, maintain
the engine oil at the proper level,
and change the oil and replace the oil
filter in accordance with the Periodic
Maintenance Chart. Not only do dirt
and metal particles collect in the oil, but
the oil itself los ...
Front Footpeg Position
The right and left front footpegs can
be selected to one of two positions to
suit the front preferences. Have the
front footpeg positions changed by an
authorized Kawasaki dealer.
A. Bolts
B. Upper Position (Standard)
C. Lower Position
NOTE
Install the front footpegs with same
heig ...
Stick Coil Installation
Apply a thin coat of grease [A] to the stick coils for easy
installation.
Insert the stick coils so that the coil heads align with the
lines [B] on the cylinder head cover.
NOTICE
Do not tap the coil head while installing the coil.
After installation, be sure the stick coils are ...