
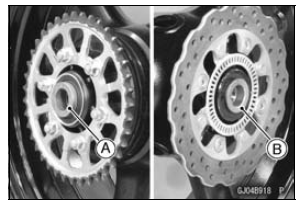
Left Side Collar [A] Right Side Collar [B] (with Flange)
NOTE
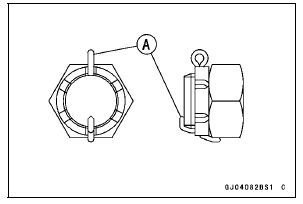
| WARNING A loose axle nut can lead to an accident resulting in serious injury or death. Tighten the axle nut to the proper torque and install a new cotter pin. |
| WARNING After servicing, it takes several applications of the brake pedal before the brake pads contact the disc, which could result in increased stopping distance and cause an accident resulting in injury or death. Do not attempt to ride the motorcycle until a firm brake pedal is obtained by pumping the pedal until the pads are against the disc. |
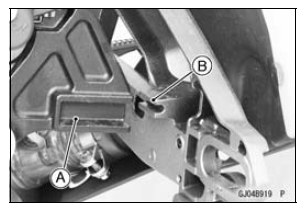
 Rear Wheel Removal
 Wheel Inspection
Throttle Control System
Check the throttle grip play each day
before riding the motorcycle, and carry
out maintenance and adjustments in
accordance with the Periodic Maintenance
Chart. Adjust it if necessary.
Throttle Grip
The throttle grip controls the butterfly
valves in the throttle body. If the throttle
grip ha ...
Loading and accessories information
WARNINGIncorrect loading, improper installation
or use of accessories,
or modification of your motorcyclemay
result in an unsafe riding
condition. Before you ride the
motorcycle, make sure it is not
overloaded and that you have
followed these instructions.
With the ...
Special Tools and Sealant
Oil Pressure Gauge, 10 kgf/cm²:
57001-164
Oil Pressure Gauge Adapter, PT3/8:
57001-1233
Outside Circlip Pliers:
57001-144
Liquid Gasket, TB1211:
56019-120
...