
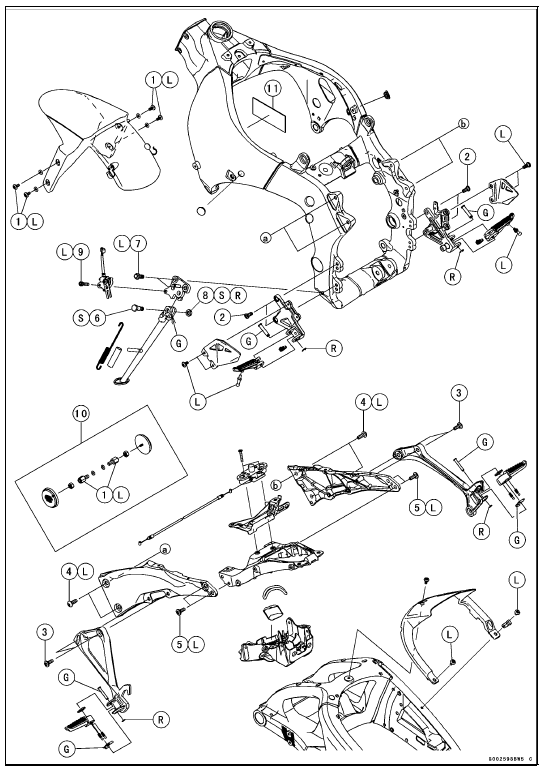
10. US, CA, CAL and AU Models 11. ZX1000JD/KD G: Apply grease.
L: Apply a non-permanent locking agent.
R: Replacement Parts S: Follow the specified tightening sequence.
1. US, CA and CAL Models
2. ZX1000J Model
3. ZX1000K Model
4. AU Model
5. Face the large diameter side rearward.
L: Apply a non-permanent locking agent.
R. Replacement Parts

 Frame
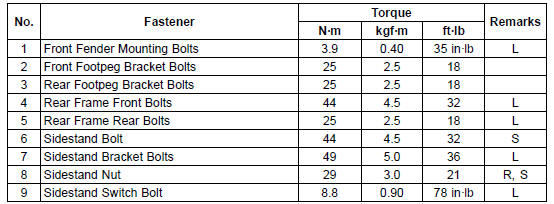
Frame Seats
SeatsReplacement Parts
Replacement parts must be KAWASAKI genuine or
recommended by KAWASAKI. Gaskets, O-rings, oil seals,
grease seals, circlips, cotter pins or self-locking nuts must
be replaced with new ones whenever disassembled.
Assembly Order
In most cases assembly order is the reverse of disassembly,
howe ...
Oxygen Sensor Heater Resistance Inspection
Turn the ignition switch to OFF.
Remove the fuel tank (see Fuel Tank Removal in the Fuel
System (DFI) chapter).
Disconnect the oxygen sensor lead connector [A].
Connect a digital meter [A] to the terminals in the oxygen
sensor lead connector [B].
Measure the oxygen sensor heat ...
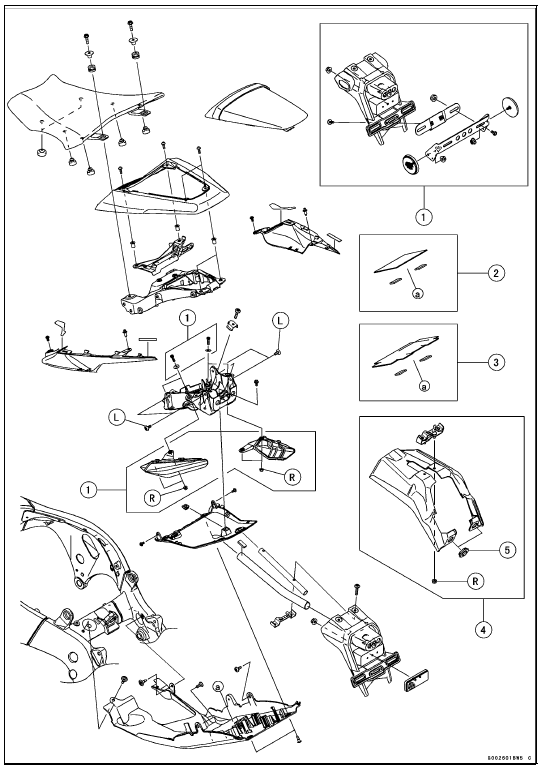
Seat Cover Removal
Remove:
Rear Seat (see Rear Seat Removal)
Remove the bolts [A].
Remove the upper seat cover backward [B] to clear the
hook portions.
Remove:
Front Seat (see Front Seat Removal)
Quick Rivets [A]
Bolts [B]
Seat Covers [C]
...