
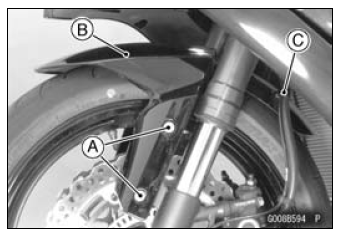
Front Fender Installation
 Fenders
 Flap and Rear Fender Rear Removal
Gear Position Switch Output Voltage Inspection
NOTE
Be sure the battery is fully charged.
Turn the ignition switch to OFF.
Remove the fuel tank (see Fuel Tank Removal in the Fuel
System (DFI) chapter).
Disconnect the sidestand switch/gear position switch lead
connector [A].
Connect the measuring adapter [A] between the ...
Camshaft Chain Tensioner Installation
Replace the O-ring [A] with a new one.
Apply grease to the new O-ring.
Release the stopper [B] and push the push rod [C] into the
interior of the tensioner body [D] so that the position of the
push rod is 3 or 4 notches [E] as shown in the figure.
Install the tensioner body so that the ...
Engine Sprocket Installation
Replace the sprocket washer and axle cotter pin.
Install the engine sprocket onto the output shaft.
Apply molybdenum disulfide oil solution to the threads
and seating surface of the engine sprocket nut.
Tighten:
Torque - Engine Sprocket Nut: 145 N·m (14.8 kgf·m, 107
ft·lb)
NOTE
...