
 Front Fender Removal
 Flap and Rear Fender Rear Installation
Swingarm Bearing Installation
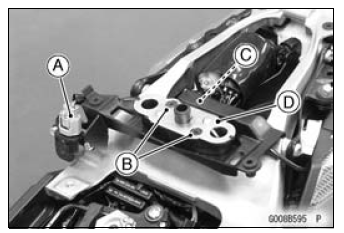
Replace the needle bearings, ball bearing, grease seals
and circlip with new ones.
Install the needle bearings, ball bearing, grease seals and
circlip as shown in the figure.
Insert the needle bearing driver [A] into the needle bearing
[B] and press the needle bearing into the housing u ...
Wiring Diagram (Other than US, CA and CAL without KIBS Models)
ZX1000JC
ZX1000JD
...
ZX1000JB/KB Models
1. Run the fuse box 2 lead in front of the rib for the fuse box 2.
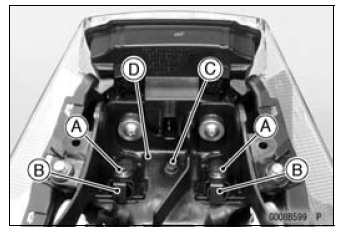
2. Seat Lock Cable
3. Hook the licence plate light lead and the left turn signal light lead on
the projection of the tool
kit case.
4. Rib for Fuse Box 2
5. Run the starter relay lead in back of the rib for the fuse box 2 ...