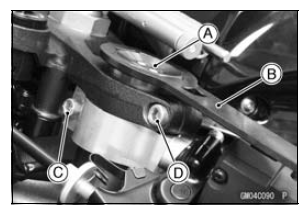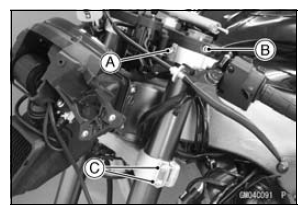

Loosen the front fork top plug [A] beforehand if the fork leg is to be disassembled.
Special Tool - Top Plug Wrench (45 mm) [B]: 57001-1741

NOTE
Loosen the top plug after loosening the handlebar clamp bolt [C] and upper front fork clamp bolt [D].

 Spring Preload Adjustment
 Front Fork Installation (Each Fork Leg)
Solenoid Valve Inspection (Service Code b 13, b 14, b 17, b 18)
The solenoid valve is built in the KIBS Hydraulic Unit [A].
Therefore the solenoid valve cannot be checked directly.
Perform the Pre-Diagnosis Inspection 1 and 2 (see Inquiries
to Rider in the Brakes chapter).
If any of these service codes appears even if all checks
are ended, replace t ...
Intake Air Pressure Sensor #2 Removal
NOTICE
Never drop the intake air pressure sensor #2 especially
on a hard surface. Such a shock to the sensor
can damage it.
Remove:
Air Cleaner Housing (see Air Cleaner Housing Removal
in the Fuel System (DFI) chapter)
Intake Air Pressure Sensor #2 Connector [A]
Remove the intake air ...
Wiring Diagram (Other than US, CA and CAL without KIBS Models)
ZX1000JC
ZX1000JD
...