
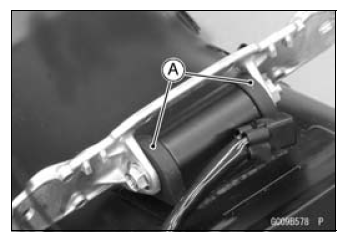
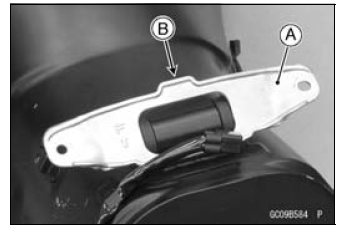
If the dampers are damaged or deteriorated, replace them.
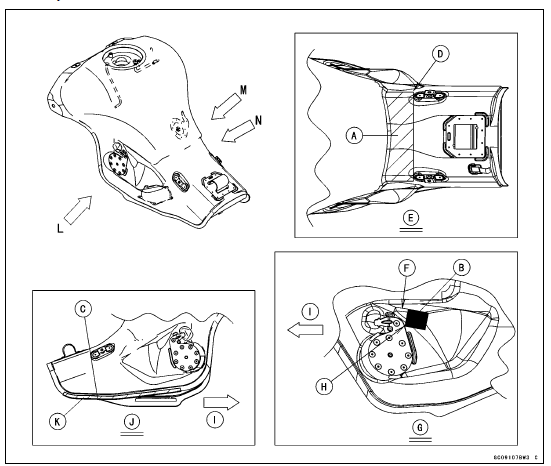
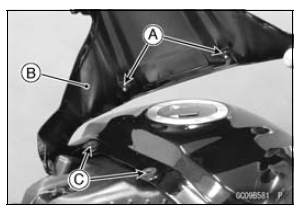
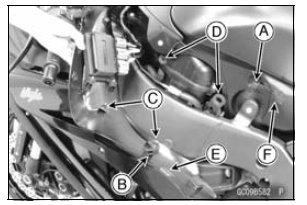
Install the pad [A], hooks [B] and trim [C] on the fuel tank as shown in the figure.
[D] Attach the pad on the fuel tank so that it covers entire round from end to end.
[E] View N [F] Attach the hook parallel to this line.
[G] View L [H] Attach the hook so that the corner of it contacts the bracket.
[I] Front [J] View M [K] After installation, fix the rear end of the trim to the fuel tank by hand.
To prevent the gasoline from flowing into or out of the canister, hold the separator perpendicular to the ground.
Connect the hoses according to the diagram of the evaporative emission control system. Make sure they do not get pinched or kinked.
Run the hoses with a minimum of bending so that the air or vapor will not be obstructed.
| WARNING Leaking fuel can cause a fire or explosion resulting in serious burns. Make sure the hose joint is installed correctly on the delivery pipe by sliding the joint. |
If it comes off, reinstall the hose joint.
[D] Upper Fuel Tank Cover [E] Left Fuel Tank Cover [F] Right Fuel Tank Cover [G] Attach the damper on the ruled line.
[H] Attach the hook on the ruled line.
[I] View K [J] View L
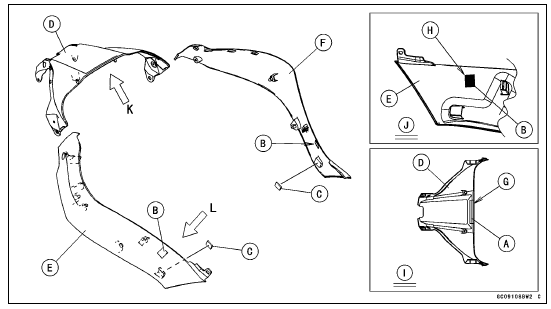
Insert the projections [A] of the upper fuel tank cover [B] into the holes [C] of the fuel tank.
Insert the hook portion [A] of the fuel tank into the slot [B] of the fuel tank cover.
Insert the projections [C] into the holes [D], and then attach the hook fastener [E] to the hook fastener [F] on the fuel tank.
 Fuel Tank Removal
 Fuel Tank and Cap Inspection
Air Suction Valve Inspection
Remove the air suction valve (see Air Suction Valve Removal).
Visually inspect the reeds [A] for cracks, folds, warps,
heat damage or other damage.
If there is any doubt as to the condition of the reeds, replace
the air suction valve as an assembly.
Check the reed contact areas [B] of ...
Subthrottle Valve Actuator Input Voltage Inspection
NOTE
Be sure the battery is fully charged.
Turn the ignition switch to OFF.
Disconnect the subthrottle valve actuator connector and
connect the measuring adapter [A] between these connectors
as shown in the figure.
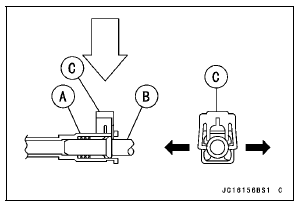
Main Harness [B]
Subthrottle Valve Actuator [C]
Special Tool ...
Nozzle Assy Disassembly
Remove the nozzle assy (see Nozzle Assy Removal).
Pull out the secondary fuel injectors [A] from the delivery
pipe assy [B].
NOTE
Do not damage the insertion portions of the injectors
when they are pulled out from the delivery pipe assy.
NOTICE
Never drop the secondary fuel injecto ...