
If there is any damage, replace the inner tube. Since damage to the inner tube damages the oil seal, replace the oil seal whenever the inner tube is replaced.
NOTICE
If the inner tube is badly bent or creased, replace it. Excessive bending, followed by subsequent straightening, can weaken the inner tube.
If you feel binding or catching, the inner and outer tubes must be replaced.
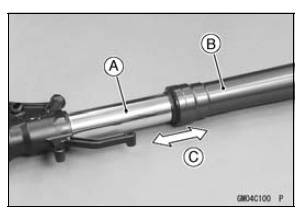
| WARNING A straightened inner or outer fork tube may fall in use, possibly causing an accident resulting in serious injury or death. Replace a badly bent or damaged inner or outer tube and inspect the other tube carefully before reusing it. |
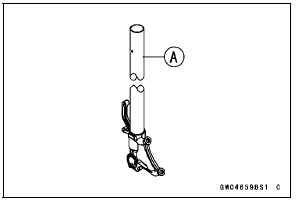
 Front Fork Assembly
 Dust Seal Inspection
Crankshaft Sensor Inspection
Disconnect the crankshaft sensor lead connector (see
Crankshaft Sensor Removal).
Set the hand tester [A] to the × 10 Ω range and connect it
to the crankshaft sensor lead connector [B].
Special Tool - Hand Tester: 57001-1394
Crankshaft Sensor Resistance
Connections:
Meter (+ ...
Technical Information-Power Mode
The rider can choose from three engine power modes to suit their preferences
and road conditions.
The FI ECU controls the engine power by adjusting fuel injection, air intake,
and ignition timing. It
enables three-mode selection: Full Power (Mode F), Middle Power (Mode M), and
Low Power (M ...
Starter Motor Installation
NOTICE
Do not tap the starter motor shaft or body. Tapping
the shaft or body could damage the motor.
Clean the starter motor legs [A] and crankcase where the
starter motor is ground.
Replace the O-ring [A] with a new one.
Apply grease to the new O-ring.
Tighten:
Torque - Starter ...