
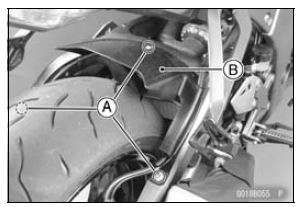
 Guard
Guard Mud Guard Installation
Valve Seat Inspection
Remove the valve (see Valve Removal).
Check the valve seating surface [A] between the valve [B]
and valve seat [C].
Measure the outside diameter [D] of the seating pattern
on the valve seat.
If the outside diameter is too large or too small, repair the
seat (see Valve Seat Repair).
Val ...
Side Stand
The motorcycle is equipped with a
side stand.
A. Side Stand
NOTE
When using the side stand, turn the
handlebar to the left.
Do not sit on the motorcycle while
it is on its side stand or centre stand.
Always kick the stand fully up before
sitting on the motorcycle.
NOTE
The motorcycl ...
Alternator Cover Removal
Remove:
Upper Fairing Assembly (see Upper Fairing Assembly
Removal in the Frame chapter)
Air Cleaner Housing (see Air Cleaner Housing Removal
in the Fuel System (DFI) chapter)
Bolt [A]
Bring the heat insulator plate [B] forward to remove the
alternator lead connector.
Clear the p ...