
Thickness Gauge [A]
Air Gap
Standard: 0.4  1.6 mm (0.02
 0.06 in.)
If the measurement is not the standard, check each part for deformation and looseness and correct accordingly.
If the measurement is the standard, go to next step.
If the sensor and sensor rotor in bad condition, remove the any deposits. Install the proper part or replace faulty part.
If the all items are good, go to next step.
If this service code appears even if all checks are ended, replace the KIBS hydraulic unit
If the service code does not appear, the KIBS system normal (temporary failure).
 Front Wheel Rotation Sensor Wiring Inspection (Service Code b 43)
 Rear Wheel Rotation Sensor Wiring Inspection (Service Code b 45)
ESD Actuator Input Voltage Inspection
NOTE
Be sure the battery is fully charged.
Turn the ignition switch to OFF.
Disconnect the ESD actuator connector and connect a
suitable measuring leads [A] between these connectors
as shown.
Main Harness [B]
ESD Actuator [C]
Connect the peak voltage adapter [D] and a digital ...
Fuel Tank Cleaning
WARNINGGasoline and low flash-point solvents can
be
flammable and/or explosive and cause severe
burns. Clean the tank in a well-ventilated area, and
take care that there are no sparks or flame anywhere
near the working area. Do not use gasoline
or low flash-point solvents t ...
Brakes
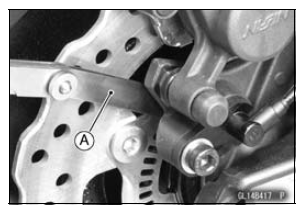
Brake Wear Inspection
Inspect the brakes for wear. For each
front and rear disc brake caliper, if the
thickness of either pad is less than
1 mm (0.04 in.), replace both pads
in the caliper as a set. Pad replacement
should be done by an authorized
Kawasaki dealer.
A. Lining Thickness
B. ...