
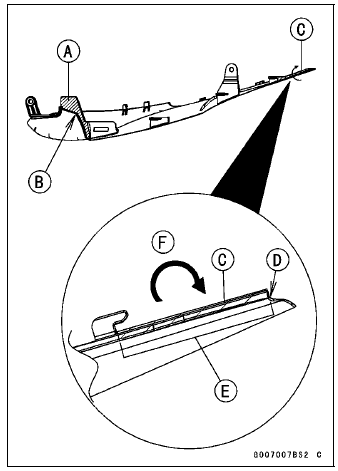
When installing the pad [A], install it along the corner [B] as shown in the figure.
When installing the pad [C], align the ends [D], along the corner [E], and wrap [F] the upper edge of the seat cover.
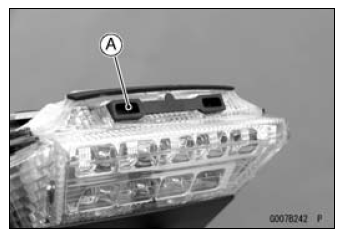
Install the damper [A] as shown in the figure.
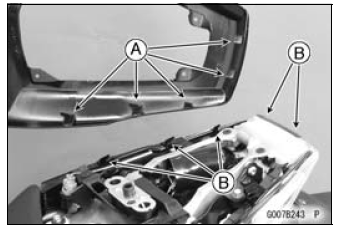
Fit the hook portions [A] to the slots and hooks [B].
 Seat Cover Removal
 Fenders
Headlight Beam
NOTE
Do not turn the bolts because the reflector
in the headlight comes off.
A. Bolts
The left and right adjusters on the
headlight can move the direction of
the headlight beam to up, down, left
and right by turning each adjuster itself
as the below table.
A. Left Adjuster
...
Front Brake Pad Installation
Check that the pad spring [A] is in place on the caliper.
Push the caliper pistons in by hand as far as they will go.
Install the brake pads [A] on the pad spring correctly.
Fit the pad into the groove of the caliper as shown in the
figure.
Install the pad pins while pushing t ...
Coolant Change
WARNINGCoolant can be extremely hot and cause
severe
burns, is toxic and very slippery. Do not remove
the radiator cap or attempt to change the coolant
when the engine is hot; allow it cool completely.
Immediately wipe any spilled coolant from tires,
frame, engine or othe ...