
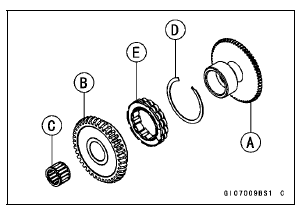
 Starter Clutch Installation
 Starter Clutch Assembly
Clutch Cover Installation
Using a cleaning fluid, clean off any oil or dirt that may
be on the silicone sealant coating area. Dry them with a
clean cloth.
Apply silicone sealant to the area [A] where the mating
surface of the crankcase touches the clutch cover gasket.
Sealant - Liquid Gasket, TB1211F: 92104-000 ...
Cylinder Head Installation
NOTE
The camshaft cap is machined with the cylinder head,
so if a new cylinder head is installed, use the cap that
is supplied with the new head.
Install the dowel pins.
Replace the cylinder head gasket with a new one.
Replace the cylinder head bolt washers with new ones.
Apply molybden ...
Radiator and Cooling Fan
Check the radiator fins for obstruction
by insects or mud. Clean off
any obstructions with a stream of
low-pressure water.
WARNINGThe cooling fan spins at high
speed and can cause serious
injuries. Keep your hands and
clothing away from the cooling
fan blades at all times.
...