

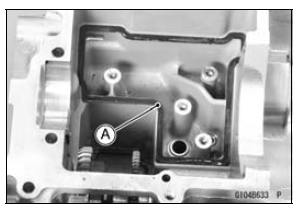
Torque - Breather Plate Bolts: 9.8 N·m (1.0 kgf·m, 87 in·lb)
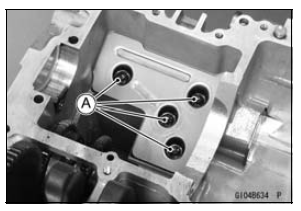
Special Tool - Bearing Driver Set: 57001-1129
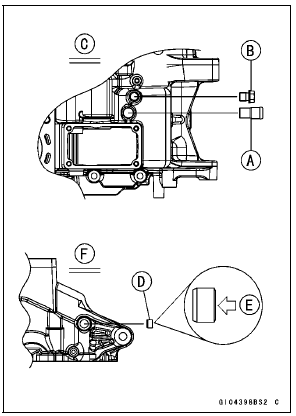
Torque - Breather Plug: 15 N·m (1.5 kgf·m, 11 ft·lb) View from Upside [C]
View from Left Side [F]
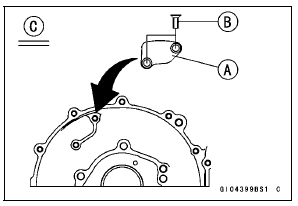
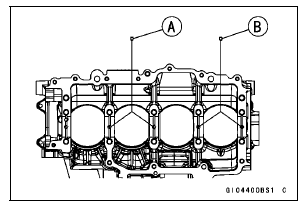
 Crankcase Assembly
 Lower Crankcase Assembly
Tie-Rod Removal
Squeeze the brake lever slowly and hold it with a band
[A].
Remove the front footpeg bracket bolts [A].
Raise the rear wheel off the ground with the jack (see
Rear Shock Absorber Removal).
Special Tools - Jack: 57001-1238
Jack Attachment: 57001-1608
Remove:
Upper ...
Stick Coil Input Voltage Inspection
NOTE
Be sure the battery is fully charged.
Turn the ignition switch to OFF.
Remove the ECU (see ECU Removal in the Fuel System
(DFI) chapter).
Do not disconnect the ECU connectors.
Connect a digital meter [A] to the connector [B] with the
needle adapter set.
Special Tool - N ...
Intake Air Pressure Sensor #2 Removal
NOTICE
Never drop the intake air pressure sensor #2 especially
on a hard surface. Such a shock to the sensor
can damage it.
Remove:
Air Cleaner Housing (see Air Cleaner Housing Removal
in the Fuel System (DFI) chapter)
Intake Air Pressure Sensor #2 Connector [A]
Remove the intake air ...