
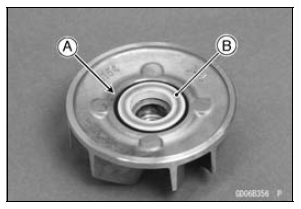
 Water Pump Inspection
 Water Pump Impeller Inspection
Air Cleaner Housing Assembly
Install the ducts to the air cleaner housing.
Fit the projections [A] of the duct into the slits [B] on the
air cleaner housing.
Tighten the screws [A].
Torque - Air Cleaner Housing Duct Screws: 1.1 N·m (0.11
kgf·m, 10 in·lb)
Install:
Air Cleaner Gasket [A]
Duct [B] ...
ABS and KIBS Indicator Lights (LED) Inspection
In this model, the ABS indicator light (LED) [A] and KIBS
indicator light (LED) [B] go on or blink by the data sent
from the KIBS hydraulic unit.
Refer to the Meter Unit Inspection in the Electrical System
chapter.
ABS and KIBS Indicator Lights (LED) Function
*: The mode of “Low ...
Engine Removal
Support the rear part of the swingarm with a stand.
Squeeze the brake lever slowly and hold it with a band
[A].
WARNINGMotorcycle may fall over unexpectedly
resulting in
an accident or injury. Be sure to hold the front brake
when removing the engine.
NOTICE
Be sure ...