
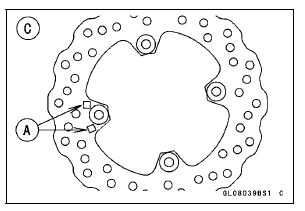
Front Brake Discs [B] Rear Brake Disc [C]

 Brake Disc Removal
 Brake Disc Wear Inspection
Exploded View
7. US, CA and CAL Models
8. Immobilizer System Equipped Models
9. ZX1000JD/KD
AD: Apply adhesive.
L: Apply a non-permanent locking agent.
R: Replacement Parts
13. Other than US, CA and CAL Models
CL: Apply cable lubricant.
EO: Apply engine oil.
G: Apply grease.
L: Apply a ...
ECU Power Supply Inspection
Remove the upper air cleaner housing (see Air Cleaner
Element Replacement in the Periodic Maintenance chapter).
Visually inspect the ECU connectors.
If the connector is clogged with mud or dust, blow it off
with compressed air.
Remove the ECU (see ECU Removal).
Visually inspect the ...
Service Code Erasing
When repair has been done, warning indicator light (LED) and warning symbol
go off and service
code are not displayed.
But the service codes stored in memory of the ECU are not erased to preserve
the problem history.
In this model, the problem history can not be erased. However, the memorie ...