
NOTE
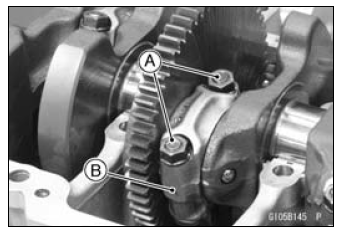
Mark and record the locations of the connecting rods and their big end caps so that they can be reassembled in their original positions.
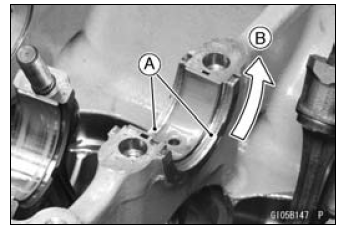
Slide [B] the thrust washers upward and remove them.
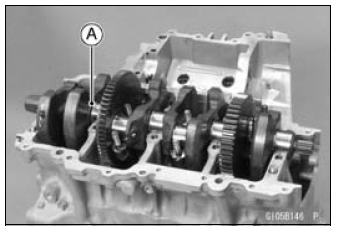
 Crankshaft Installation
Battery Ground
Before completing any service on the motorcycle, disconnect
the battery cables from the battery to prevent the engine
from accidentally turning over. Disconnect the ground
cable (–) first and then the positive (+). When completed
with the service, first connect the positive (+) cable to the
p ...
Compression Damping Force Adjustment
To adjust the compression damping force, turn the compression
damping adjuster [A].
The standard adjuster setting is the 4 1/2 turns out from
the fully clockwise position.
WARNINGIf both adjusters are not adjusted
equally, handling
may be impaired and a hazardous condition ma ...
Brake Pad Wear Inspection
Remove the brake pads (see Front/Rear Brake Pad Removal
in the Brakes chapter).
Check the lining thickness [A] of the pads in each caliper.
If the lining thickness of either pad is less than the service
limit [B], replace both pads in the caliper as a set.
Front Brake Pad [C]
Rea ...
