
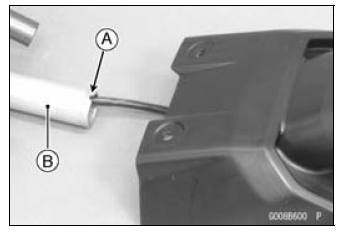
Fit the tab [A] to the slot [B].
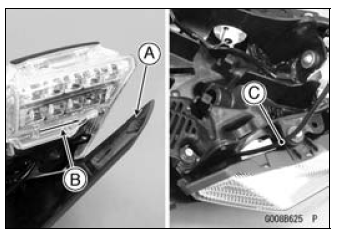
Run the seat lock cable [C] between the tool kit case and the turn signal light as shown in the figure.
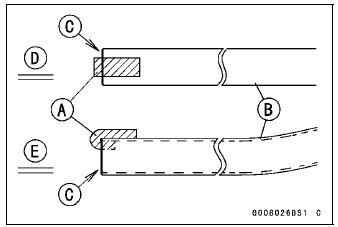
When installing the dampers [A] on the lower pipe [B], install it as shown in the figure.
Front End [C] Viewed from Upper Side [D] Viewed from Left Side [E]
Insert the tabs [A] into the upper pipes [B].
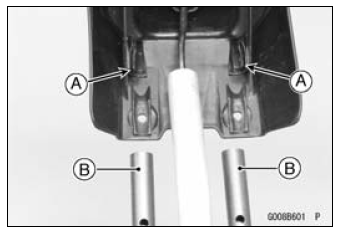
Install the bracket [A] on the upper pipes as shown in the figure.

 Flap and Rear Fender Rear Removal
 Rear Fender Front Removal
Brake Disc Installation
Install the brake disc on the wheel so that the marked side
[A] faces out.
Front Brake Discs [B]
Rear Brake Disc [C]
Apply a non-permanent locking agent to the threads of
the brake disc mounting bolts.
Tighten:
Torque - Brake Disc Mounting Bolts: 27 N·m (2.8 kgf·m, 20
...
Wiring Diagram (US, CA and CAL with KIBS Models)
ZX1000KC
ZX1000KD
...
Fuel Flow Rate Inspection
WARNINGGasoline is extremely flammable and can be
explosive
under certain conditions, creating the
potential for serious burns. Make sure the area is
well-ventilated and free from any source of flame
or sparks; this includes any appliance with a pilot
light. Do not smoke. T ...