
Sealant - Liquid Gasket, TB1211F: 92104-0004
Sealant - Liquid Gasket, TB1211F: 92014-0004
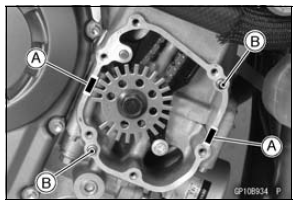
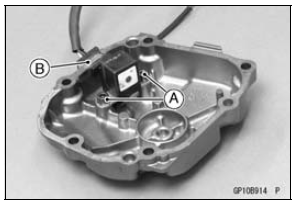
 Crankshaft Sensor Removal
 Crankshaft Sensor Inspection
Intake Air Temperature Sensor Resistance Inspection
Remove the intake air temperature sensor (see Intake Air
Temperature Sensor Removal).
Suspend the sensor [A] in a container of machine oil so
that the heat-sensitive portion is submerged.
Suspend a thermometer [B] with the heat-sensitive portion
[C] located in almost the same depth with ...
Clutch
Clutch Operation Inspection
Pull the clutch lever just enough to take up the free play
[A].
Measure the gap between the lever and the lever holder.
If the gap is too wide, the clutch may not release fully. If
the gap is too narrow, the clutch may not engage fully. In
either case, adjust ...
Diode Circuit Inspection
Remove the relay box (see Relay Box Removal).
Check conductivity of the following pairs of terminals (see
Relay Box Internal Circuit in this section).
Diode Circuit Inspection
The resistance should be low in one direction and more
than 10 times as much in the other direction. If any dio ...