
When the operator is driving the motorcycle for optimum fuel-efficiency, the economical riding indicator appears on the multifunction meter to indicate favorable fuel consumption. Monitoring the economical riding indicator can help the rider maximize fuel efficiency.
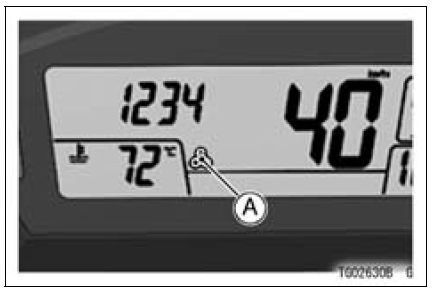
A. Economical Riding Indicator
| WARNING Failing to properly observe the road ahead increases the chance of an accident resulting in severe injury or death. Do not concentrate on the economical riding indicator by taking your eyes off the road; observe using peripheral vision. |
 Clock
Clock Power Mode Indicator
Evaporative Emission Control System (California
model only)
This system routes fuel vapors from
the fuel system into the running engine
or stores the vapors in a canister when
the engine is stopped. Although no adjustments
are required, a thorough visual
inspection must be made at the intervals
specified by the Periodic Maintenance
Chart.
Inspection
...
Intake Air Pressure Sensor #1 Installation
NOTE
The intake air pressure sensor #1 is the same part as
the intake air pressure sensor #2.
Installation is basically the reverse of removal.
Position the intake air pressure sensor #1 [A] between the
projections [B] on the rubber damper.
Install the rubber damper [A] on the bracket ...
Rear Master Cylinder Installation
Replace the washers that are on each side of hose fitting
with new ones.
Install the brake hose [A].
Touch the brake hose to the stopper [B] of the rear master
cylinder.
Tighten:
Torque - Brake Hose Banjo Bolt: 25 N·m (2.5 kgf·m, 18 ft·lb)
Install the master cylinder, the brack ...