
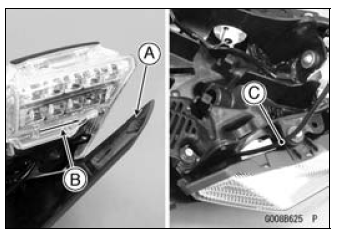
Fit the tab [A] to the slot [B].
Run the seat lock cable [C] between the tool kit case and the turn signal light as shown in the figure.
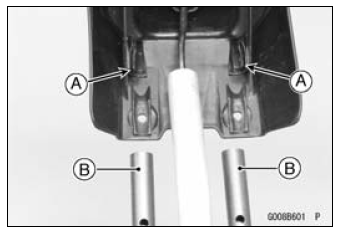
When installing the dampers [A] on the lower pipe [B], install it as shown in the figure.
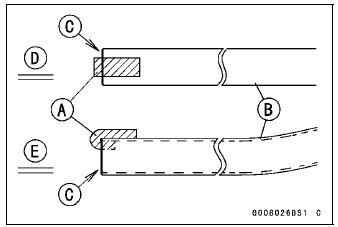
Front End [C] Viewed from Upper Side [D] Viewed from Left Side [E]
Insert the tabs [A] into the upper pipes [B].
Install the bracket [A] on the upper pipes as shown in the figure.

 Flap and Rear Fender Rear Removal
 Rear Fender Front Removal
Oil Filter Replacement
Drain the engine oil (see Engine Oil Change).
Remove the left lower fairing (see Lower Fairing Removal
in the Frame chapter).
Remove the oil filter [A] with the oil filter wrench [B].
Special Tool - Oil Filter Wrench: 57001-1249
Replace the filter with a new one.
Apply grease t ...
Water Temperature Sensor Removal/Installation
NOTICE
Never drop the water temperature sensor especially
on a hard surface. Such a shock to the sensor can
damage it.
Remove the throttle body assy (see Throttle Body Assy
Removal in the Fuel System (DFI) chapter).
Drain the coolant (see Coolant Change in the Periodic
Maintenance c ...
Exhaust Butterfly Valve Actuator Sensor Output Voltage Inspection
NOTE
Before this inspection, confirm the pulley is original
position (see Exhaust Butterfly Valve Actuator Installation).
Disconnect:
3 Pins Connector [A] (see Exhaust Butterfly Valve Actuator
Sensor Output Voltage Inspection)
2 Pins Connector [B]
Connect the harness adapter [A ...