
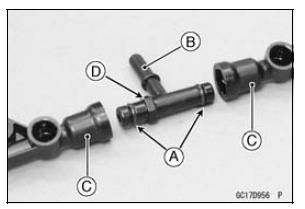
Insert the joint pipe so that the stepped side [D] faces right side.
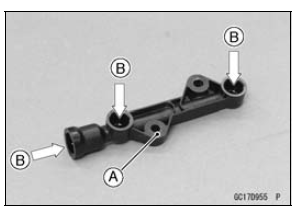
Left and right delivery pipes are identical.
 Nozzle Assy Disassembly
 Air Cleaner
Lubrication
It is important to lubricate rotating or sliding parts during
assembly to minimize wear during initial operation. Lubrication
points are called out throughout this manual, apply
the specific oil or grease as specified.
Direction of Engine Rotation
When rotating the crankshaft by hand, the fre ...
Valve Removal
Remove the cylinder head (see Cylinder Head Removal).
Remove the valve lifter and shim.
Mark and record the valve lifter and shim locations so they
can be installed in their original positions.
Using the valve spring compressor assembly, remove the
valve.
Special Tools - Valve ...
Spring Preload Adjustment
To adjust the spring preload, turn the spring preload adjuster
[A].
The standard adjuster setting is the 6 turns in from the
fully counterclockwise position.
WARNINGIf both adjusters are not adjusted
equally, handling
may be impaired and a hazardous condition may
result. B ...