
NOTICE
Do not lay the wheel on the ground with the disc facing down. This can damage or warp the disc.
Place blocks under the wheel so that the disc does not touch the ground.
 Front Wheel Installation
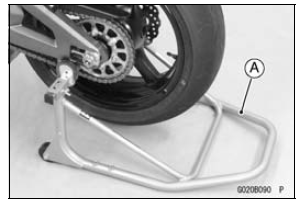
 Rear Wheel Installation
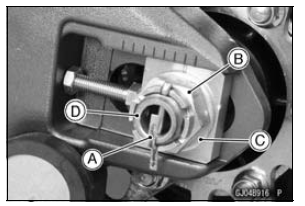
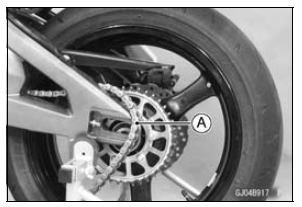
Specifications
Whenever you see the symbols
shown below, heed their instructions!
Always follow safe operating and maintenance
practices.
DANGER
DANGER indicates a hazardous
situation which, if not avoided,
will result in death or serious injury.
WARNINGWARNING indicates a hazardous
situation whi ...
Fuel Hose Inspection (fuel leak, damage, installation condition)
If the motorcycle is not properly handled, the high pressure
inside the fuel line can cause fuel to leak [A] or the
hose to burst. Remove the fuel tank (see Fuel Tank Removal
in the Fuel System (DFI) chapter) and check the
fuel hoses.
Replace the fuel hose if any fraying, cracks [B] or ...
Solenoid Valve Inspection (Service Code b 13, b 14, b 17, b 18)
The solenoid valve is built in the KIBS Hydraulic Unit [A].
Therefore the solenoid valve cannot be checked directly.
Perform the Pre-Diagnosis Inspection 1 and 2 (see Inquiries
to Rider in the Brakes chapter).
If any of these service codes appears even if all checks
are ended, replace t ...