
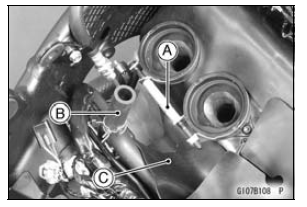
 Torque Limiter
 Torque Limiter Installation
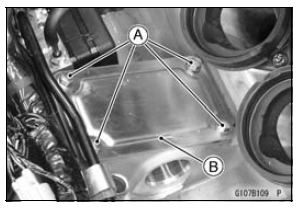
Crankshaft Main Bearing
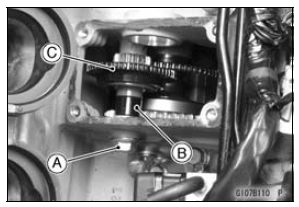
Insert/Journal Wear Inspection
Split the crankcase (see Crankcase Splitting).
Cut strips of plastigage to journal width.
Place a strip on each journal parallel to the crankshaft
installed in the correct position.
Tighten the crankcase bolts to the specified torque (see
Crankcase Assembly).
NOTE
Do not turn ...
Fuel Tank Cap
To open the fuel tank cap, pull up the
key hole cover. Insert the ignition key
into the fuel tank cap and turn the key
to the right.
To close the cap, push it down into
place with the key inserted. The key
can be removed by turning it to the left
to the original position. Close the key
hol ...
Multifunction Display
The multifunction display indicates
the following modes.
Odometer
Trip meter A
Trip meter B
Current Mileage
Average Mileage
Fuel Consumption
Stop Watch
These display modes can be shifted
by pushing the upper button.
NOTE
The “FUEL” warning can be indicated
if the ...