
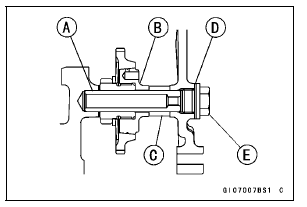
Turn the large-hole end of the shaft to inside as shown in the figure.
Dry it with a clean cloth.
Sealant - Liquid Gasket, TB1207B: 92104-2068
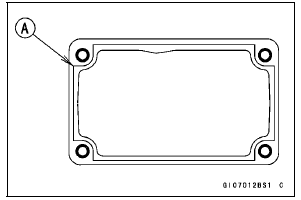
Face the bulged side of the cover upward.
NOTE
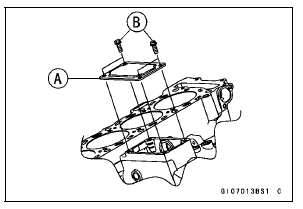
 Torque Limiter Removal
 Starter Clutch
Cylinder Head Removal
Remove:
Thermostat Housing (see Thermostat Removal in the
Cooling System chapter)
Exhaust Pipe (see Exhaust Pipe Removal)
Camshafts (see Camshaft Removal)
Heat Insulation Plate [A] (see Engine Removal in the
Engine Removal/Installation chapter)
Place a container under the coolant dr ...
Fluid Level Inspection
With the brake fluid reservoirs held
horizontal, the brake fluid level must
be kept between the upper and lower
level lines.
A. Front Brake Fluid Reservoir
B. Upper Level Line
C. Lower Level Line
A. Rear Brake Fluid Reservoir
B. Upper Level Line
C. Lower Level Line
If th ...
Piston Wear Inspection
Measure the outside diameter [A] of each piston 5 mm
(0.20 in.) [B] up from the bottom of the piston at a right
angle to the direction of the piston pin.
If the measurement is under service limit, replace the piston.
Piston Diameter
Standard: 75.959 75.974 mm
(2.9905 2.9911 in.)
...