
Upper Fairing Assembly Assembly
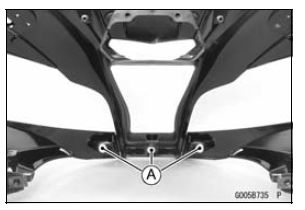
When installing the clamps of the upper fairing, refer to the Exploded View section.
 Upper Fairing Assembly Installation
 Upper Inner Fairing Removal
Air Switching Valve Removal
NOTICE
Never drop the air switching valve especially on a
hard surface. Such a shock to the air switching
valve can damaged it.
Remove the air cleaner housing (see Air Cleaner Housing
Removal in the Fuel System (DFI) chapter).
Disconnect the connector [A].
Disconnect the hoses [B] from ...
Exhaust Butterfly Valve Actuator Sensor Output Voltage Inspection
NOTE
Before this inspection, confirm the pulley is original
position (see Exhaust Butterfly Valve Actuator Installation).
Disconnect:
3 Pins Connector [A] (see Exhaust Butterfly Valve Actuator
Sensor Output Voltage Inspection)
2 Pins Connector [B]
Connect the harness adapter [A ...
KIBS Hydraulic Unit Removal
NOTICE
The KIBS hydraulic unit [A] has been adjusted
and set with precision at the factory. Therefore, it
should be handled carefully, never struck sharply,
as with a hammer, or allowed to fall on a hard
surface.
Be careful not to get water or mud on the KIBS hydraulic
unit.
Drain the b ...