
Installation is the reverse of removal. Note the following.
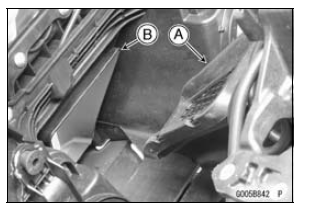
 Upper Fairing Assembly Removal
 Upper Fairing Assembly Disassembly
Brake Pad Wear Inspection
Remove the brake pads (see Front/Rear Brake Pad Removal
in the Brakes chapter).
Check the lining thickness [A] of the pads in each caliper.
If the lining thickness of either pad is less than the service
limit [B], replace both pads in the caliper as a set.
Front Brake Pad [C]
Rea ...
Stopping the Motorcycle in an Emergency
Your Kawasaki Motorcycle has been
designed and manufactured to provide
you optimum safety and convenience.
However, in order to fully benefit
from Kawasaki’s safety engineering
and craftsmanship, it is essential that
you, the owner and operator, properly
maintain your motorcycle and becom ...
KIBS Hydraulic Unit Installation
NOTICE
Brake fluid quickly ruins painted plastic surfaces;
any spilled fluid should be completely washed away
immediately.
Install the KIBS hydraulic unit together with the bracket.
Before installing the brake pipe, check to see that there is
no damage on the threads of the brake pipe joi ...