
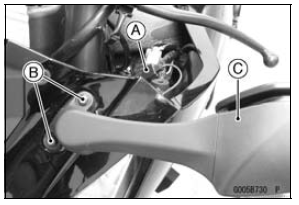
Take the hoses [A] off the canister [B].
Open the clamp [C].
Remove the quick rivet [D].
 Lower Fairing Installation
 Upper Fairing Assembly Installation
Fuel Injector Fuel Line Inspection
Remove:
Fuel Tank (see Fuel Tank Removal)
Air Cleaner Housing (see Air Cleaner Housing Removal)
Disconnect:
Primary and Secondary Fuel Hoses (see Fuel Hose Replacement
in the Periodic Maintenance chapter)
Do not remove the nozzle assy from the air cleaner housing.
Be sure to pla ...
Exhaust Butterfly Valve Actuator Installation
Install the pulley [A] on the actuator so that the hole side
[B] align with the groove [C] on the shaft.
Make sure that the groove on the shaft is pointing toward
the center of the screw [D].
If the shaft position is incorrect, refer to the following
NOTE and procedures to electrically ad ...
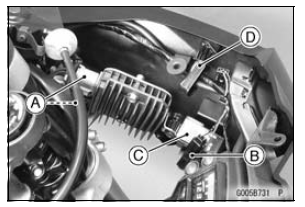
Starter Relay Inspection
Remove the front seat (see Front Seat Removal in the
Frame chapter).
Remove the battery negative (–) cable from the battery
negative (–) terminal (see Battery Removal).
Take the starter relay [A] off the rear fender.
Remove the cover [B].
Remove:
Starter Motor Cable [A] ...