
Special Tools - Jack: 57001-1238 Jack Attachment: 57001-1608
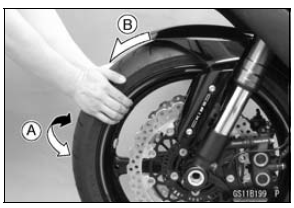
If roughness, binding or noise is found, remove the front wheel and inspect the wheel bearing (see Front Wheel Removal, Hub Bearing Inspection in the Wheels/Tires chapter).
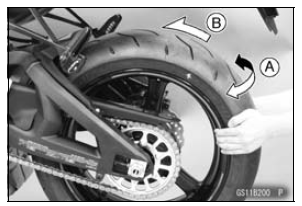
If roughness, binding or noise is found, remove the rear wheel and inspect the wheel bearing (see Rear Wheel Removal, Hub Bearing Inspection in the Wheels/Tires chapter) and coupling (see Coupling Bearing Inspection in the Final Drive chapter).
 Tire Tread Wear Inspection
 Final Drive
Rear Shock Absorber Installation
Replace the rear shock absorber nuts and tie-rod nuts
with new ones.
Tighten:
Torque - Rear Shock Absorber Nuts: 34 N·m (3.5 kgf·m, 25
ft·lb)
Tie-Rod Nuts: 34 N·m (3.5 kgf·m, 25 ft·lb)
When installing the rear shock absorber bracket [A], install
it so that the recess side [B] ...
Vehicle-down Sensor Input Voltage Inspection
NOTE
Be sure the battery is fully charged.
Turn the ignition switch to OFF.
Disconnect the vehicle-down sensor connector and connect
the measuring adapter [A] between these connectors
as shown in the figure.
Main Harness [B]
Vehicle-down Sensor [C]
Special Tool - Measuring Adapte ...
Gear Position Switch Output Voltage Inspection
NOTE
Be sure the battery is fully charged.
Turn the ignition switch to OFF.
Remove the fuel tank (see Fuel Tank Removal in the Fuel
System (DFI) chapter).
Disconnect the sidestand switch/gear position switch lead
connector [A].
Connect the measuring adapter [A] between the ...