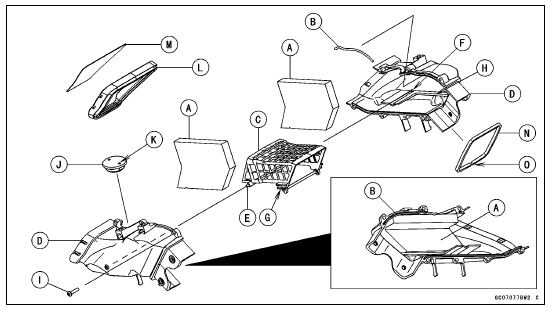

Projections [E] and Holes [F] Grooves [G] and Ribs [H]
Torque - Air Intake Duct Assembly Screws [I]: 1.5 N·m (0.15 kgf·m, 13 in·lb)

 Air Intake Duct Disassembly (US, CA and CAL Models)
 Air Intake Duct Disassembly
(Other than US, CA and CAL Models)
Air Intake Duct Disassembly
(Other than US, CA and CAL Models)Oxygen Sensor Heater Power Source Voltage Inspection
NOTE
Be sure the battery is fully charged.
Turn the ignition switch to OFF.
Remove the fuel tank (see Fuel Tank Removal in the Fuel
System (DFI) chapter).
Disconnect the oxygen sensor lead connector and connect
the measuring adapter [A] between these connectors
as shown in the fig ...
Precautions
1) No need of topping-up
No topping-up is necessary in this battery until it ends its life under
normal use. Forcibly prying
off the seal cap to add water is very dangerous. Never do that.
2) Refreshing charge.
Give refresh charge for 5 to 10 hours with charge current shown in the text
(see ...
Engine Oil Flow Chart
1. Oil Screen
2. Oil Pump
3. Oil Pressure Relief Valve
4. Oil Filter
5. Oil Pipe
6. Oil Cooler
7. Balancer Oil Passage
8. Main Oil Passage
9. Crankshaft Oil Passage
10. Oil Pressure Switch
11. Camshaft Oil Passages
12. Drive Shaft Oil Passage
13. Output Shaft Oil Passage
14. Starter ...