
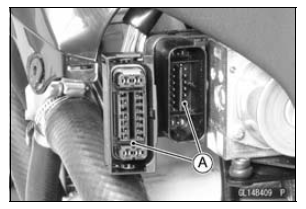
Replace the KIBS hydraulic unit or main harness if either of the terminals are cracked, bent, or otherwise damaged.
If the KIBS hydraulic unit connector is clogged with mud or dust, blow it off with compressed air.
Replace the KIBS hydraulic unit if any of them are cracked, or otherwise damaged.
 KIBS Hydraulic Unit Installation
 Front Wheel Rotation Sensor Removal
Fuel Consumption
This display mode shows the fuel
consumption in Liter or Gallon by numerical
value counted from the start of
measuring to present time.
A. Fuel Consumption
B. “L�
While the fuel consumption is displayed,
push the lower button and
hold it in until the fuel consumption
values re ...
Exploded View
CL: Apply cable lubricant.
EO: Apply engine oil.
G: Apply grease.
HG: Apply high-temperature grease.
L: Apply a non-permanent locking agent.
M: Apply molybdenum disulfide grease.
R: Replacement Parts
S: Follow the specified tightening sequence.
Specifications
Special ...
Intake Air Pressure Sensor #1 Installation
NOTE
The intake air pressure sensor #1 is the same part as
the intake air pressure sensor #2.
Installation is basically the reverse of removal.
Position the intake air pressure sensor #1 [A] between the
projections [B] on the rubber damper.
Install the rubber damper [A] on the bracket ...