
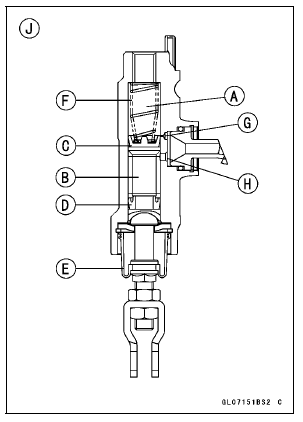
If a master cylinder or piston shows any damage, replace them.
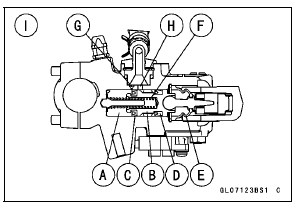
If a cup is worn, damaged softened (rotted), or swollen, the piston assembly should be replaced to renew the cups.
If fluid leakage is noted at the brake lever, the piston assembly should be replaced to renew the cups.
If they are damaged, replace them.
If the springs are damaged, replace them.
If the relief port becomes plugged, the brake pads will drag on the disc. Blow the ports clean with compressed air.
Front Master Cylinder [I] Rear Master Cylinder [J]
 Rear Master Cylinder Installation
 Brake Disc
Transmission Assy Installation
Assemble the transmission assy (see Transmission Assy
Assembly).
Be sure that the dowel pins are in position.
Install the transmission assy on the crankcase.
Tighten:
Torque - Transmission Case Bolts: 20 N·m (2.0 kgf·m, 15
ft·lb)
Install:
Shift Shaft (see External Shift Mechani ...
System Components
1. KIBS ECU
With input from the front and rear wheel sensors and front
caliper hydraulic pressure, the KIBS ECU analyzes various
conditions on the motorcycle, and with additional information
from the FI ECU (engine speed, throttle position, gear
position, and clutch actuation) precisely control ...
Transmission Shaft Assembly
Apply molybdenum disulfide oil solution to the sliding surfaces
of the gears and shafts.
Install the gears and the gear bushings [A] with their holes
[B] aligned.
Replace any circlips removed with new ones.
Install the circlips [A] so that the opening [B] of it is aligned
with ...