
Touch the brake hose to the stopper [B] of the rear master cylinder.
Front Master Cylinder Disassembly
Rear Master Cylinder Disassembly
Master Cylinder Assembly
 Rear Master Cylinder Removal
 Master Cylinder Inspection (Visual Inspection)
Balancer Assemble
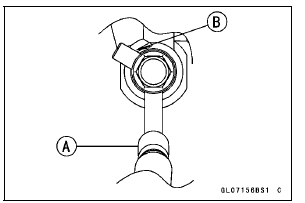
Apply molybdenum disulfide oil solution to the ribs of the
balancer [A].
Apply molybdenum disulfide oil solution to the ribs of the
balancer gear [A].
Check that the rubber dampers [B] are in place.
Face the linked portion [C] to the bottom.
Assemble the balancer weight ...
Cleaning Vehicle before Disassembly
Clean the vehicle thoroughly before disassembly. Dirt or
other foreign materials entering into sealed areas during vehicle
disassembly can cause excessive wear and decrease
performance of the vehicle.
Arrangement and Cleaning of Removed Parts
Disassembled parts are easy to confuse. Arrange ...
CAN Communication Line
CAN Communication Line
Resistance Inspection
In this model, resistors for CAN communication line are
built in the ECU [A] and meter unit.
Refer to the Meter Unit Inspection in the Electrical System
chapter for the resistor in the meter unit.
Turn the ignition switch to OFF.
Remove:
EC ...