
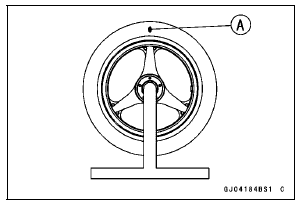
Repeat this procedure several times. If the wheel stops of its own accord in various positions, it is well balanced.
If the wheel always stops in one position, adjust the wheel balance (see Balance Adjustment).
 Axle Inspection
 Balance Adjustment
Evaporative Emission Control System (California
model only)
This system routes fuel vapors from
the fuel system into the running engine
or stores the vapors in a canister when
the engine is stopped. Although no adjustments
are required, a thorough visual
inspection must be made at the intervals
specified by the Periodic Maintenance
Chart.
Inspection
...
Chassis Parts Lubrication
Before lubricating each part, clean off any rusty spots with
rust remover and wipe off any grease, oil, dirt, or grime.
Lubricate the points listed below with indicated lubricant.
NOTE
Whenever the vehicle has been operated under
wet or rainy conditions, or especially after using a
high ...
Fuse Box Fuse Removal
Remove the left upper inner fairing (see Upper Inner Fairing
Removal in the Frame chapter).
Unlock the hook [A] to take off the fuse box 1 [B].
Unlock the hook [C] to lift up the lid.
Pull the fuses [A] straight out of the fuse box 1 with needle
nose pliers.
Fuse Box 2
...