

If the indicator light does not go on, replace the meter unit.
 Check 3-1: CAN Communication Line Resistance Inspection
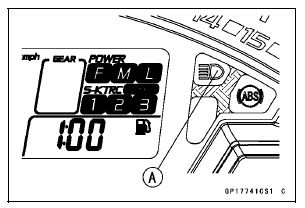
 Check 3-4: Turn Signal Indicator Light (LED) Inspection
Intake Air Pressure Sensor #1 Removal
NOTICE
Never drop the intake air pressure sensor #1 especially
on a hard surface. Such a shock to the sensor
can damage it.
Remove:
Air Cleaner Housing (see Air Cleaner Housing Removal
in the Fuel System (DFI) chapter)
Intake Air Pressure Sensor #1 Connector [A]
Remove the intake air ...
Ignition Switch Replacement
Remove:
Air Cleaner Housing (see Air Cleaner Housing Removal
in the Fuel System (DFI) chapter)
Disconnect the lead connectors [A].
Remove:
Steering Stem Head (see Stem, Stem Bearing Removal
in the Steering chapter)
Using a small chisel or punch [A], turn out the Torx bolts.
...
Serial number locations
The engine and frame serial numbers are used to register the motorcycle.
They
are the only means of identifying your particular machine from others of the
same
model type. These serial numbers may be needed by your dealer when ordering
parts. In the event of theft, the investigating authoriti ...