
There are a number of important precautions that should be followed servicing the KIBS.
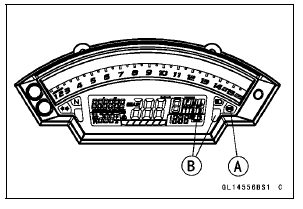
KIBS Kawasaki Self-Diagnosis System Connector Color (Main Harness Side): Black KDS Connector Color (Main Harness Side): White
NOTICE
When the KDS connector cover with a lead is connected to the KIBS Kawasaki Self-Diagnosis System connector by mistake, the fuse of the KIBS blows and its function will not work.
| WARNING Air in the brake lines diminish braking performance and can cause an accident resulting in injury or death. If any of the brake line fittings, including the KIBS hydraulic unit joint nuts, or the bleed valve is opened at any time, the air must be bled completely from the brake line. If the brake lever has a soft or "spongy" feeling mushy when it is applied, there might be air in the brake lines or the brake may be defective. Do not operate the vehicle and service the brake system immediately. |
NOTICE
Do not ride the motorcycle with air in the brake line, or the KIBS could malfunction.
| WARNING Use of non-recommended tiresmay cause malfunctioning of KIBS and can lead to extended braking distance resulting in an accident causing serious injury or death. Always use recommended standard tires for this motorcycle. |
 KIBS Hydraulic Unit Terminal Names
 KIBS Troubleshooting Outline
Fuel Pump Removal
WARNINGGasoline is extremely flammable and can be
explosive
under certain conditions, creating the
potential for serious burns. Make sure the area is
well-ventilated and free from any source of flame
or sparks; this includes any appliance with a pilot
light. Do not smoke. T ...
Engine Oil Change
Situate the motorcycle so that it is vertical after warming
up the engine.
Remove the engine oil drain bolt [A] to drain the oil.
The oil in the oil filter can be drained by removing the filter
(see Oil Filter Replacement).
Replace the drain bolt gasket [B] with a new one.
Tighten t ...
Front Fender Removal
Remove:
Bolts [A] with Washers (Both Sides)
Reflectors (Both Sides, US, CA, CAL and AU Models)
Front Fender [B]
Take the brake hose off the clamp [C] (both sides).
Front Fender Installation
Apply a non-permanent locking agent to the front fender
mounting bolts.
Tighten:
...